How to Apply Tractor Decals
/
Antique Power magazine offers readers more than beautiful photos and engaging articles. It also offers education, inspiration, and technical tips. The February 2017 post of The Newbie was titled "TRACTOR DECALS — Water Transfer, Mylar, or Vinyl?" and presented a general overview of this important aspect of tractor restoration. In this post, I will share more of what this newbie has learned.
If your old tractor still has original decals, even in bad condition or barely showing as traces, you have a big advantage over someone restoring a totally rusty relic. Unless an earlier and incorrect restoration occurred, you have in front of you a guide to correct placement! Before you remove old paint (taking any remains of the decals with it), carefully measure, photograph, and otherwise note the types of decals and their precise locations.
If you don’t document your decals or if nothing remains of them, you’ll have to do some research. Your best bet would be having an original, unrestored example of the exact same model to examine. You can also consult old advertising, the owner’s manual, and photos. Other collectors and members of organizations focused on certain makes of tractors can also provide the information you need. Just be aware that placement of decals could have changed over the years during which a certain model was produced. Also, be aware that just because you see a restored tractor at a show, you have no guarantee that the decals were done correctly.
Decals come in kits with placement guidelines, but it’s up to you to do your homework. Making sure everything about the restoration is right will add to your tractor’s value. In my previous post, I quoted restorer Al Downs of Tacoma, Washington. For this post, he offered some additional thoughts on wise preparation.
“As with any project, I always try to closely investigate what I have before I start taking it apart,” Downs said. “With Ben, [his nickname for his B.F. Avery tractor] there was some trace of old decals in places, but not enough to really go by, other than gauging how high the letters on the hood were. Research, research, research!”
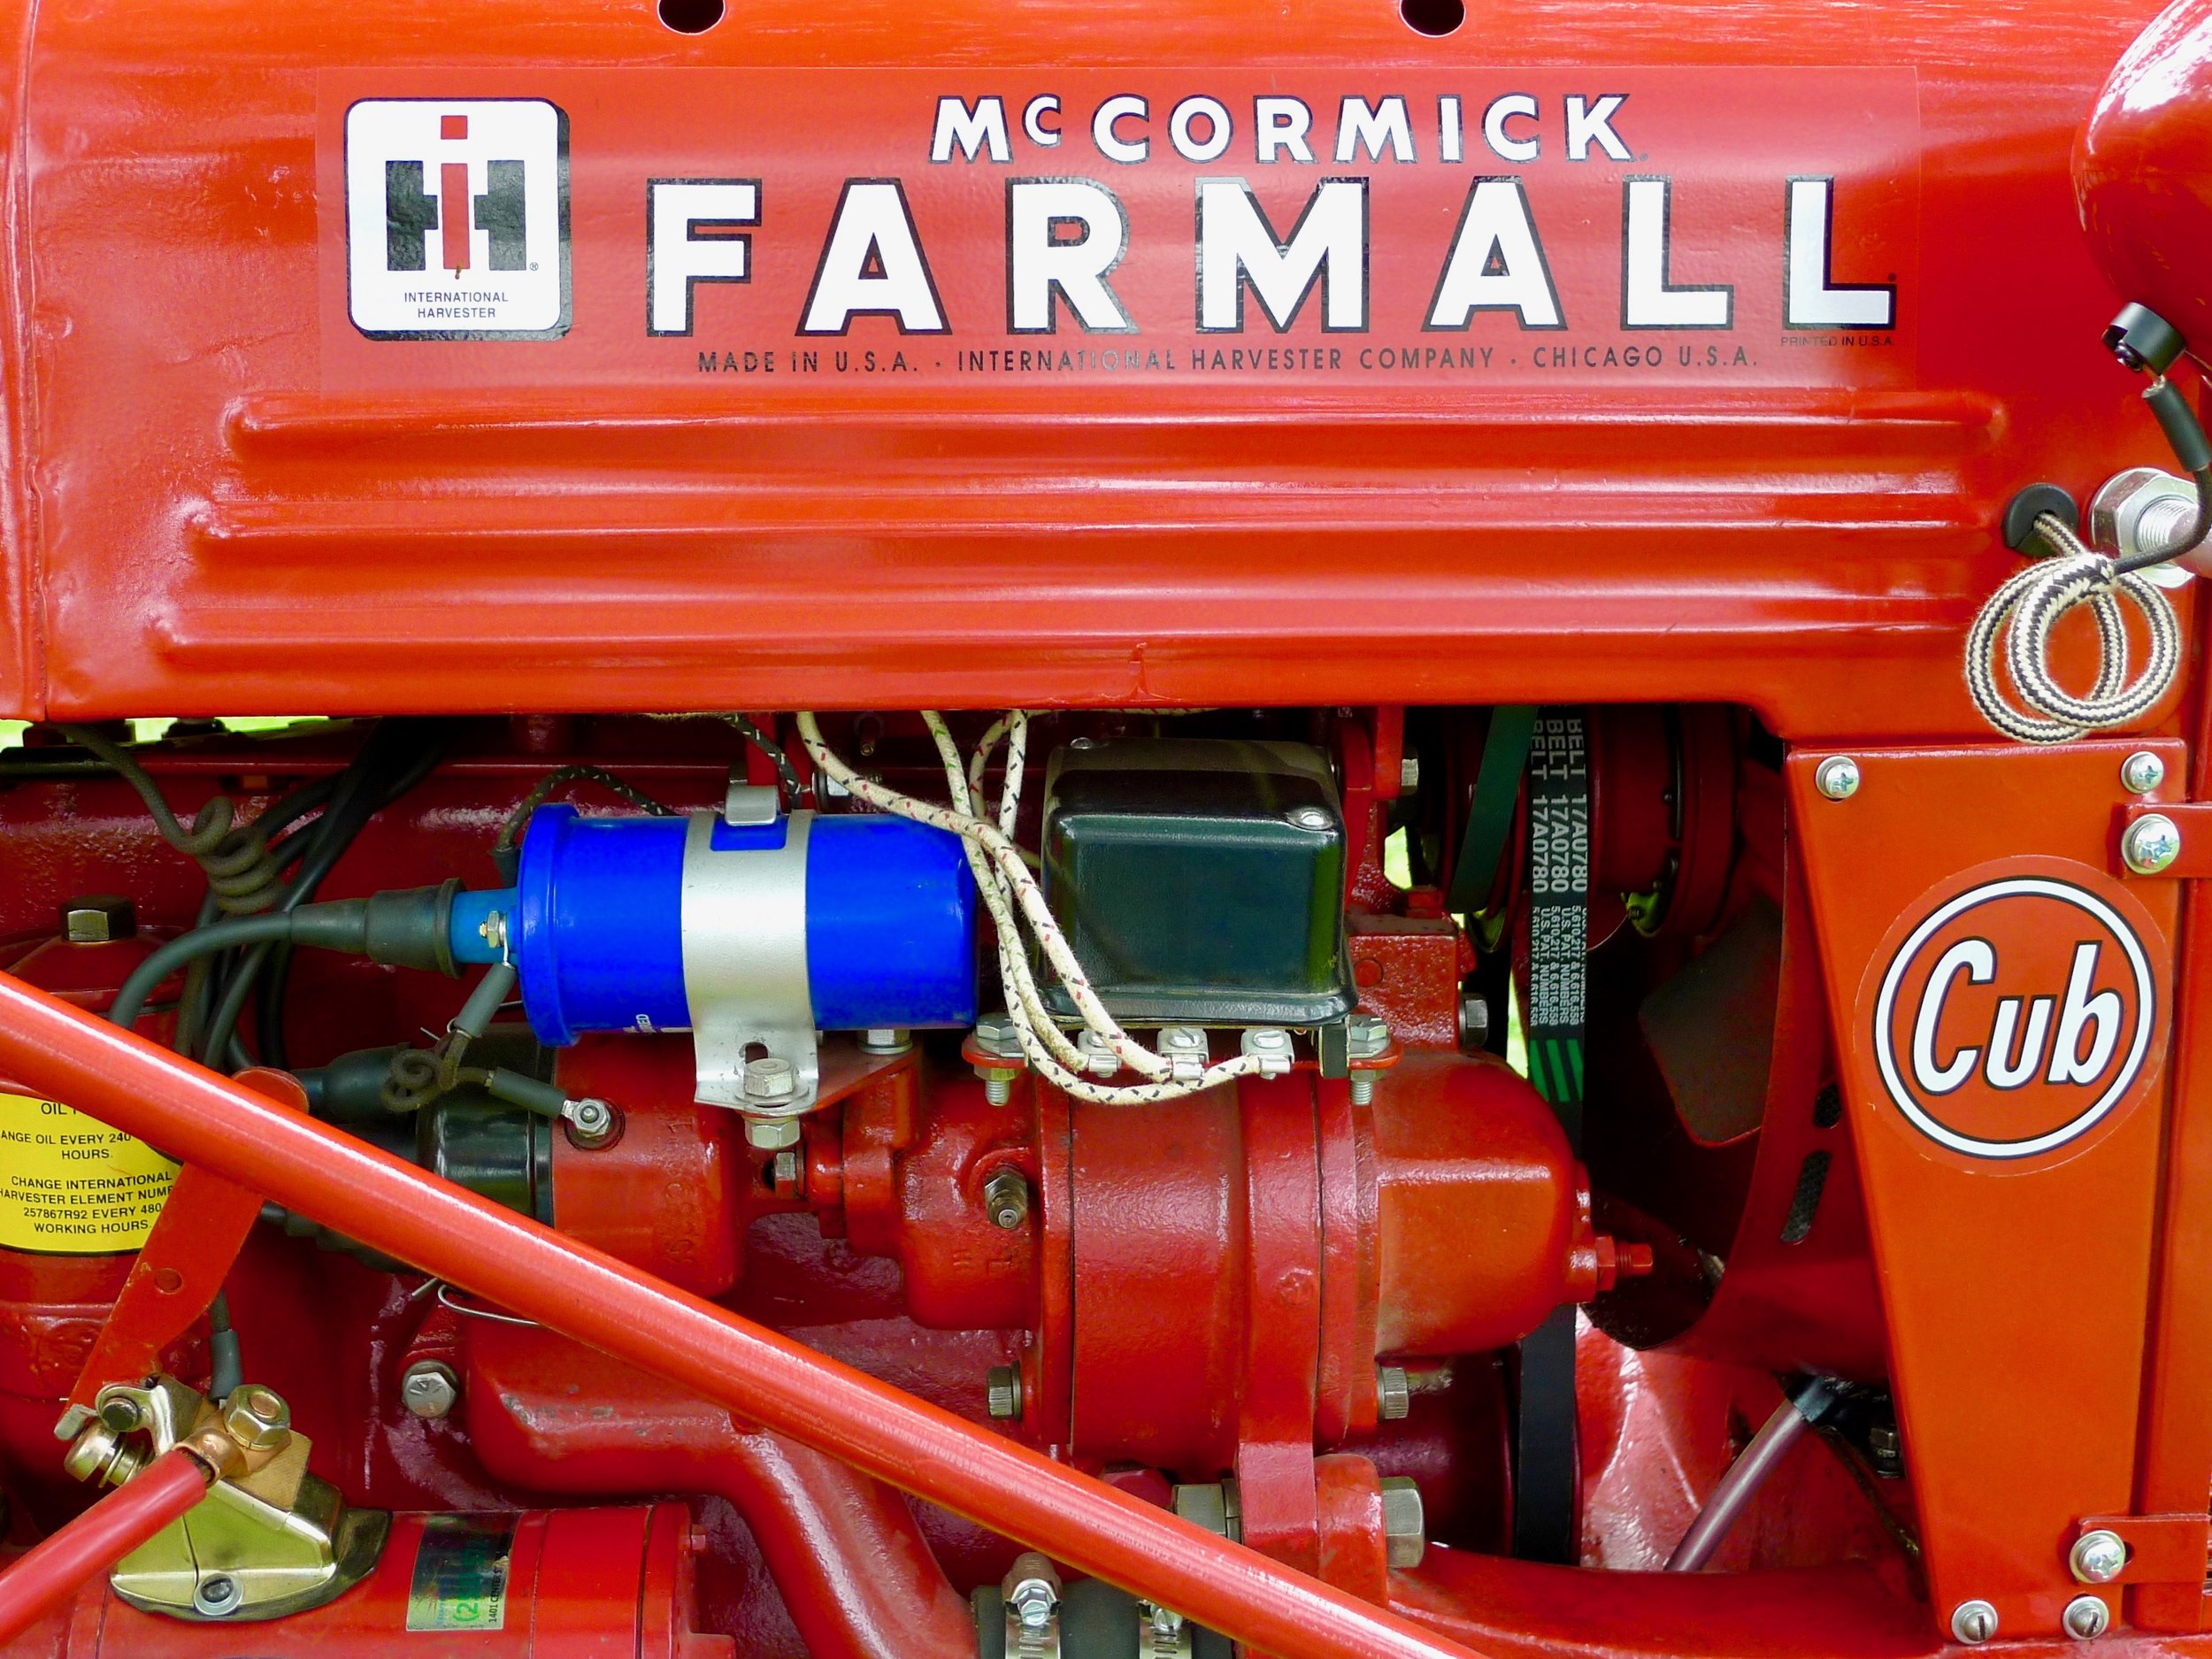
Decals are usually sold in kits, but some of these kits come with all the decals needed for not only your model, but maybe a similar model or variant, as well. You might not necessarily use everything in the package. For example, a complete set of decals will include some non-decorative safety related or instructional types that might be specific to a variant that burns a different fuel or one with different options.
Remember that tractor design involved constant change and improvement. Manufacturers also supplied “service decals” to dealers to be used to replace the originals when a tractor came in for repairs and repainting. However, models underwent changes, making some of those original decals obsolete.
Start with a clean, dry paint surface, clean hands, and a moderate room temperature. Gather your tools. You will need a small ruler, marker or grease pencil, tape (blue painter’s tape is excellent), paper towels or a soft towel, and a spray bottle of water with a drop or two of liquid dish soap to be sprayed on the surface to make it easier to adjust the position of the decal, if necessary. You will also need a small squeegee (often included in a decal kit) and maybe a pair of tweezers for handling the smallest decals.
I spoke with Buddy Ferguson of Jonesborough, Tennessee, who restored two tractors appearing in future issues of Antique Power. He is working on a Massey-Ferguson right now, his 42nd restoration since 2007. He has about five more waiting in line.
My previous post discusses the advantages and disadvantages of Mylar and vinyl decals, so please refer to it for details. Both come sandwiched between two pieces of paper, one to protect the sticky side and one facing you as you work. Ferguson calls that one the “pick-up” paper. He prefers vinyl decals and has developed his own methods that work well for him.
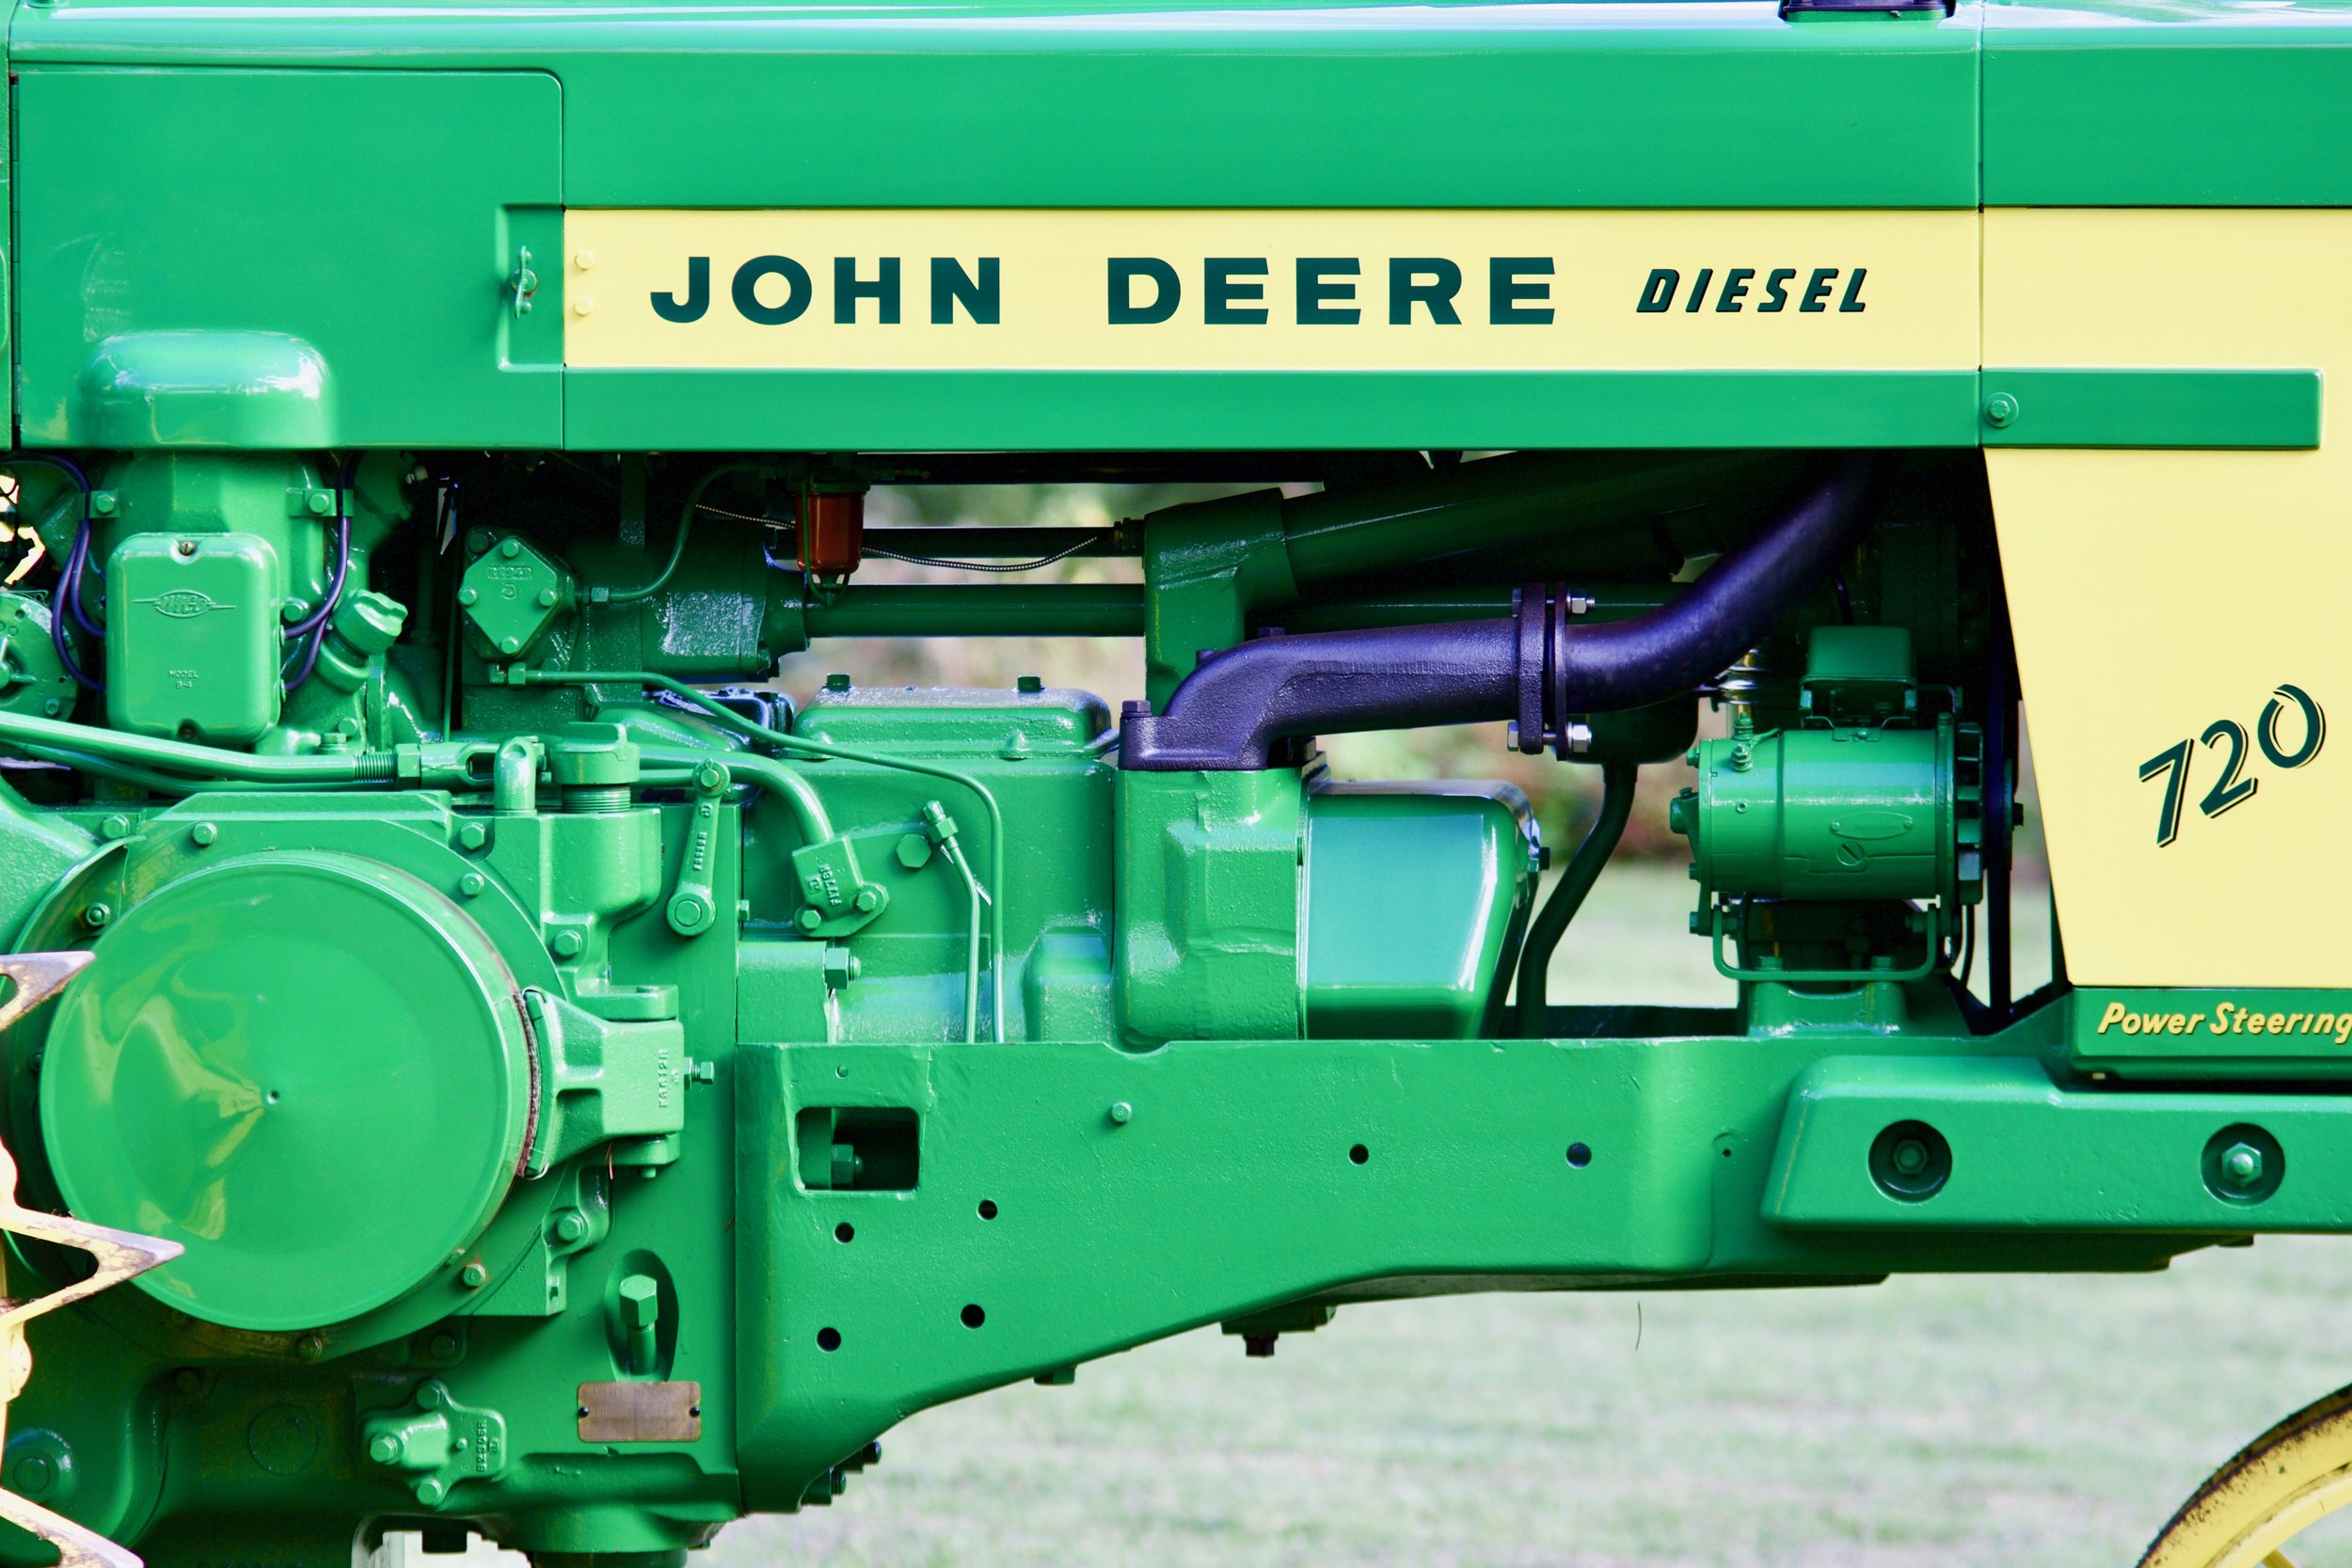
“They’re in a package and there’s a little slip of paper telling you where to put them,” he said. “Say, like on a John Deere, they are ‘so many’ inches back from the radiator. I measure that and take a Magic Marker® and make little dots so I know exactly where to start.”
Many people use grease pencils, because the marks rub right off. However, Ferguson says rubbing alcohol will remove the (non-permanent) felt-tip marker easily. Test in an inconspicuous place first.
“You take a piece of tape and apply it on the hood and get it as straight as possible,” Ferguson explained. “Then you take your decal and put it right under it, or right above it. When you get your decal on there, you pull the piece of tape off, and you’ve got your decal straight.”
Tape is also used to tack decals in the right position and hold them there until they can be applied. In addition to tacking with small pieces of tape, some people use a large piece across the top as a hinge. The decal can then be lifted to remove the backing paper covering the sticky surface and then easily laid back down in its proper place. On long or very large decals, after tacking in place with tape, you can also run another long piece of tape vertically through the center to act as a hinge. This allows you to apply one half of the decal at a time.

Once it’s in position, use your squeegee to work from the center out to push any air bubbles toward the edge and to make sure you have complete contact. If you have made a hinge with tape, work from the tape outward. Some restorers recommend quick, vertical strokes for removing trapped air. If you do end up with a bubble that persists, you can use a straight pin to make a tiny hole, releasing the air.
Restorers use many different sources for decals. People share their opinions and experiences in forums and through word of mouth. Prices vary, but Ferguson said vinyl decals can run about $60–$80 per kit. If you can’t find what you need, you will have to have them custom made. Naturally, that will cost more.
Here is an alphabetical list of some great sources advertised in Antique Power. They range from businesses dealing in decals for a specific make of tractor to companies or individuals offering custom reproductions made from originals.
- Arthur's Tractors Phone: 1-877-254-FORD
- Jensales Phone: 1-800-443-0625
- Jorde's Decals Phone: 507-288-5483
- K & K Antique Tractors Phone: 317-398-9883
- Korves Oliver Phone: 618-939-6681 Email: korves@htc.net
- Lyle Wacker Phone: 402-582-4874
- Oliver Decals Phone: 641-622-2592Email: oliver@lisco.com
- Rusty Acre — Phone: 507-433-0073Email: manifold@smig.net
- Steiner Phone: 1-800-234-3280
Before you begin, you would be wise to watch the videos provided here. You can also look on YouTube for others, including auto restoration videos that show decal application. The same tips and principles apply. Please review last month’s post, too. Talk to other people who have done this. Books on either tractor or auto restoration offer great tips. And I’m sure the suppliers listed above are happy to give advice.
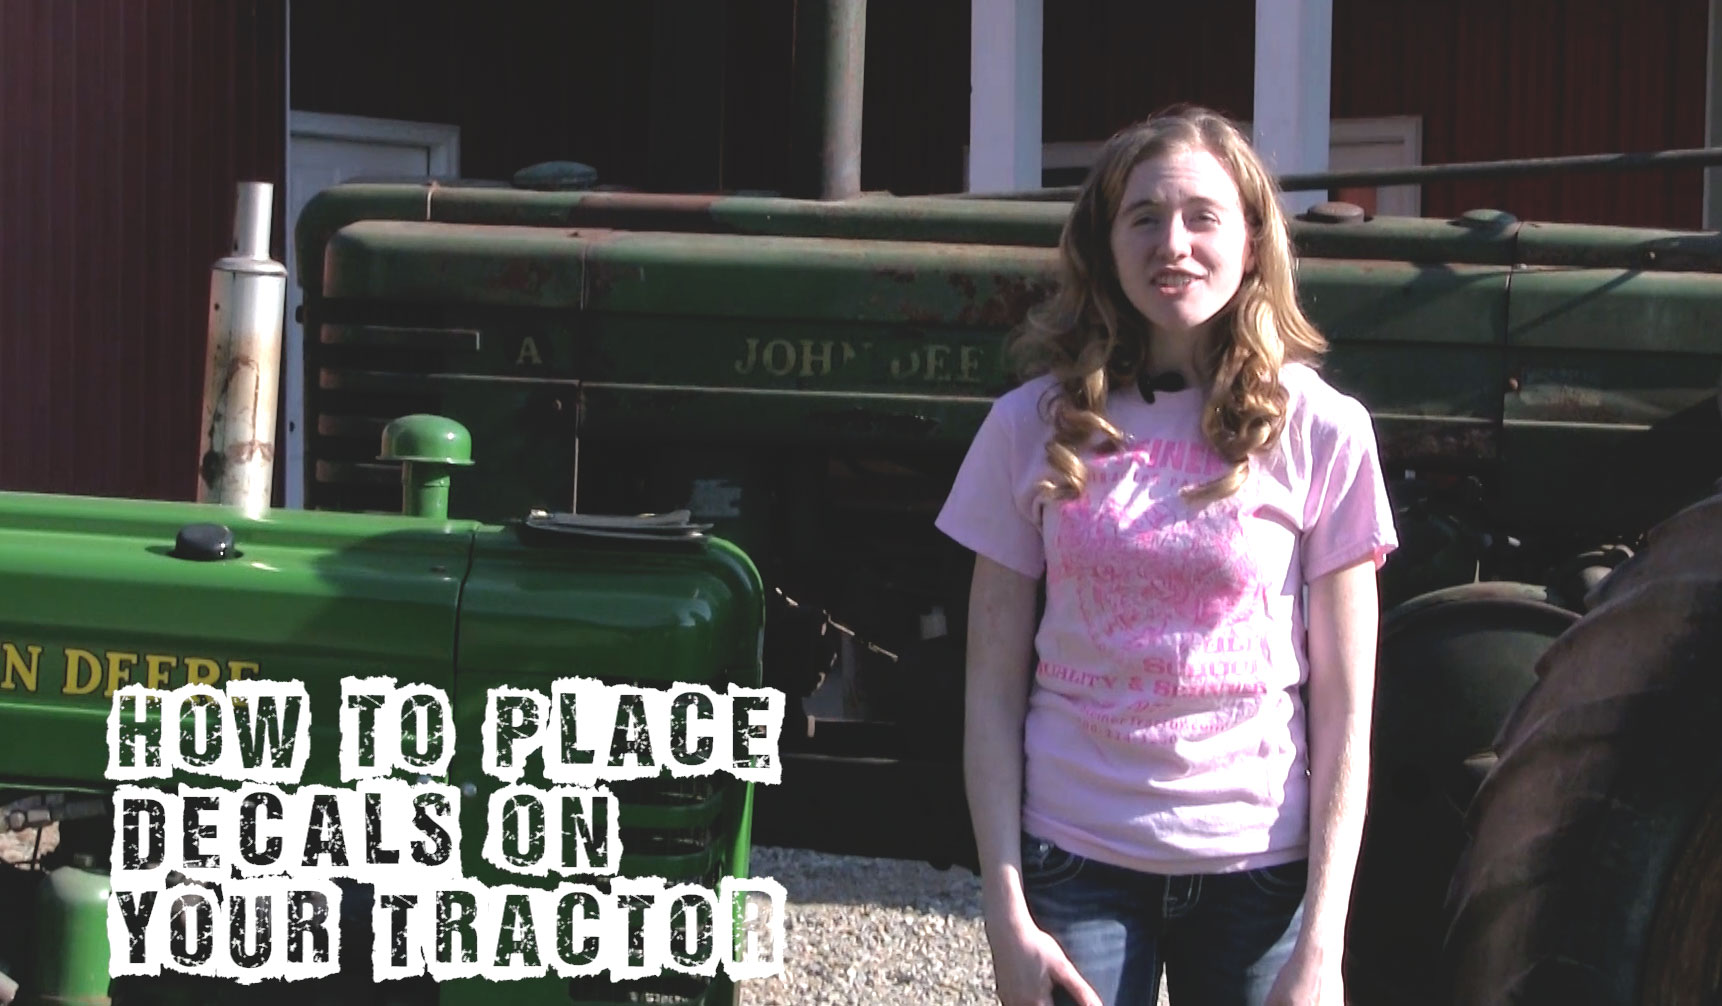
Steiner has several instructional videos on its website such as this one on "How to apply decals." CLick Here to go to the Video.
With good preparation, patience, and a little care, even a newbie can do a great job of applying decals to a tractor. Doing so will surely bring you plenty of pride and satisfaction. This is all part of the fun of the antique tractor hobby.
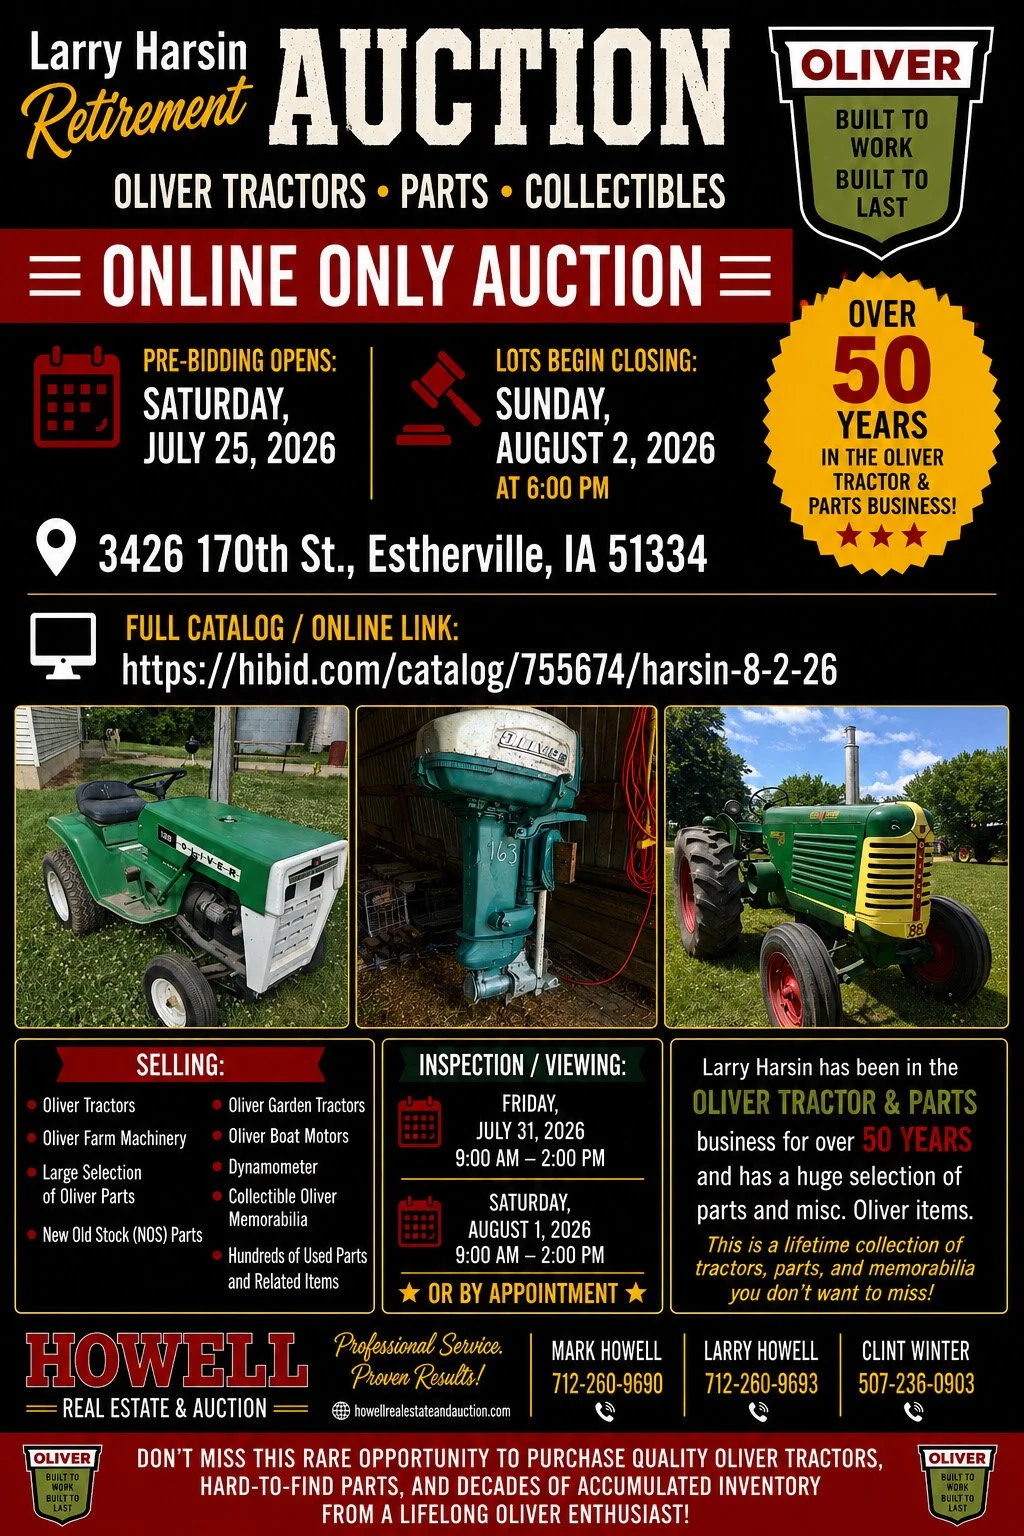
If you can't find Antique Power on a newsstand near you, call 800-767-5828 or visit our Gift Shop to order current or back issues. To subscribe, call 888-760-8108 or click here.